We independently select these products—if you buy from one of our links, we may earn a commission. All prices were accurate at the time of publishing.
Moving into an older house can add great touches of history and character to your day-to-day in your home. (Think: turning an original brass door knob to walk in to your apartment, treading up and down stairs with a 100-year-old banister, warming up next to an original marble fireplace — the dreamy decade-spanning list goes on!)
However, moving into a home that’s decades or even centuries old can also mean contending with outdated designs and design “upgrades” made over time that are markedly less aligned with your dream home aesthetic. But as this kitchen renovation proves, with a little handiwork, it’s possible to pay tribute to your home’s history while giving a space some welcome modern updates.
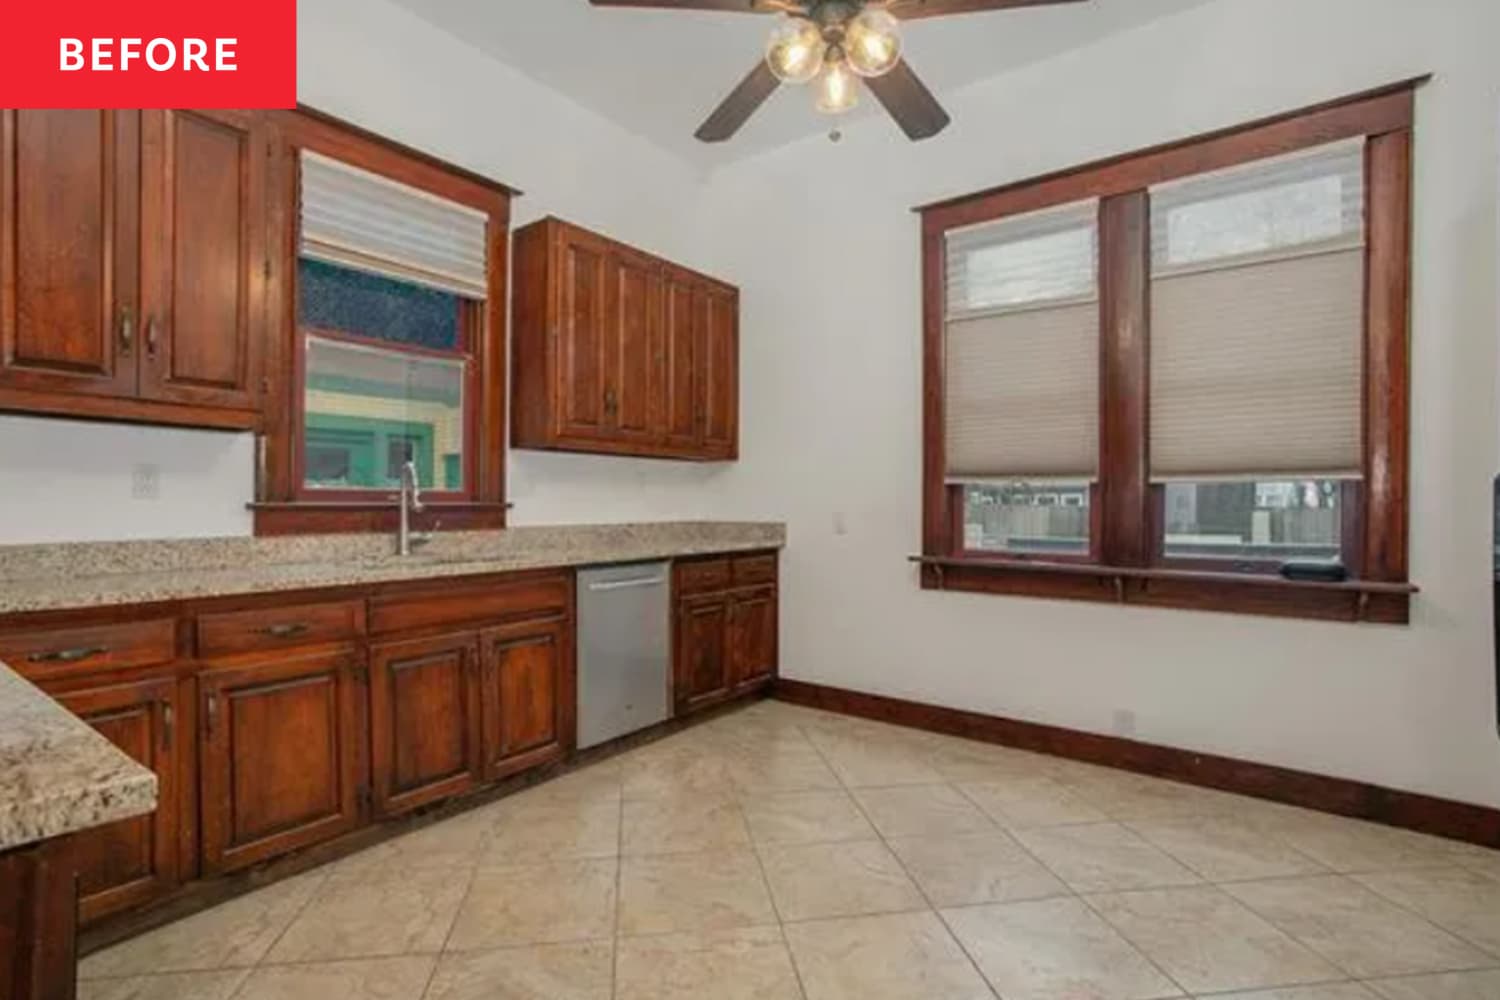
DIYer Morgan Pinch’s (@pinch_mor) house was built in 1912. But by the time she moved in, thanks to updates from previous owners over the past 111 years, her kitchen was mostly ’80s-inspired, from its beige tile and granite to its cherry-stained wood cabinets.
There were parts of the historic charm she wanted to keep, and other parts that were less charming. “I liked the layout and was obsessed with [the] stained glass window above the sink,” Morgan explains. “I didn’t love how dark the kitchen felt, even with multiple windows and overhead lights.”
With the help of her parents, Vicki and Clayton Pinch, Morgan set out to bring her kitchen into the 21st century with some fresh paint colors to make the room feel brighter while leaving its original layout intact.
To kick things off, the trio took the cabinet fronts off and removed all hardware. After deep-cleaning the cabinets’ surfaces, they de-glossed and primed them for fresh coats of paint. Following a thorough round of sanding — which Morgan says took “infinitely longer” than she initially expected — it was finally time to repaint the cabinets in the new hues Morgan selected: Benjamin Moore’s Swiss Coffee for the upper cabinets and Hunter Green for the lower cabinets.
For the latter color, she was partly inspired by the stained glass windows, but she also used another helpful tool for picking paint. If you, like Morgan, find yourself ready to paint but can’t nail down exactly which paint colors you’d like to add, she recommends using a swatch-provider paint service or paint company that can send peel-and-stick paint samples in the mail to help you envision the shade in your own home. Morgan used the swatch service Samplize, and she calls it a “game-changer.”
“[It helped] me select my colors and understand what it would look like with the cabinet front profile — [I] highly recommend so you don’t have to go through a re-sanding and priming process if you don’t like the color you chose,” Morgan adds.
Another new favorite DIY tool? The handheld paint sprayer that she purchased for the occasion.
“There was little to no learning curve, and it was fast!” Morgan notes. “Best investment ever.”
Once the painting was done, all that was left for Morgan, Vicki, and Clayton to do was install the new hardware and pulls Morgan found from Amazon for “a fraction of the cost” of similar items at home improvement stores and designer brands.
Thanks to Morgan and her family’s DIY initiatives and cost-effective Amazon finds, the entire process cost just $300 — but the difference the cabinet change makes for the whole kitchen can’t be understated.
“What was originally a functional eyesore of my home is now a stunning space that feels brand- new,” Morgan says. “It’s still functional, but it’s so much brighter.”
Inspired? Submit your own project here.


